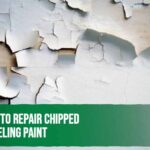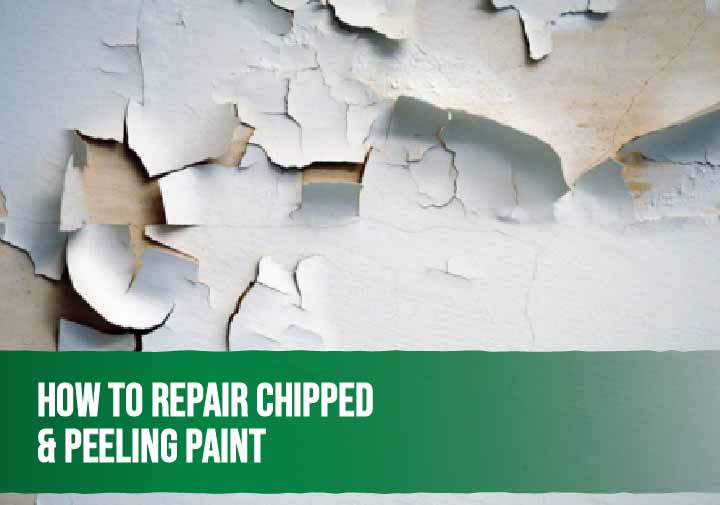
Chipped and peeling paint is one of those things you can ignore, until you really can’t. It looks bad, gets worse fast, and left alone, it can lead to moisture damage in your walls. The good news? It’s fixable. Here’s exactly how to repair chipped and peeling paint, step by step.
Why Paint Chips and Peels
Paint doesn’t just peel for no reason. There’s always an underlying cause, and fixing that is just as important as fixing the paint itself.
Common causes:
- Moisture and humidity: Water behind the paint is the #1 culprit. Leaks, condensation, and poor ventilation all cause paint to bubble and peel.
- Poor surface prep: If the surface wasn’t cleaned or primed properly before painting, adhesion fails. Simple as that.
- Low-quality paint: Cheap paint breaks down faster, especially outdoors.
- Age: Most exterior paints last 7–10 years before showing signs of wear.
- Temperature extremes: Australia’s heat cycles cause surfaces to expand and contract, cracking the paint film over time.
- Painting over a damp or dirty surface: One of the most avoidable mistakes.
If you’re seeing peeling in the same spot repeatedly, you likely have a moisture issue worth investigating before you repaint.
Tools & Materials You’ll Need
Before you start, get everything together. Nothing worse than stopping mid-job to hunt down your filler.
Tools & Materials
Preparing your walls before painting is the secret to a flawless, long-lasting finish. When dealing with chipped, peeling, or damaged paint, having the right setup ensures your repairs blend seamlessly into the rest of the wall rather than sticking out.
Here is the essential toolkit you will need to prep, fix, and blend those surface imperfections:
| Item | What It’s For |
| Scraper or putty knife | Removing loose and flaking paint |
| Sandpaper (80–120 grit) | Smoothing edges and feathering repairs |
| Flexible filler or spackle | Filling chips and holes |
| Primer | Sealing the repair before paint |
| Paintbrush or roller | Applying topcoats |
| Matching paint | Blending the repaired area |
| Drop sheet and painter’s tape | Protecting surrounding surfaces |
Step-by-Step Repair: Scrape, Fill, Sand, Prime, Paint
Step 1 — Scrape Off All Loose Paint
Use a scraper or putty knife to remove every bit of paint that’s lifting, bubbling, or flaking. Don’t be shy here. Any paint that’s not firmly attached needs to go. Leaving it means the repair will fail again.
For large areas, a wire brush or orbital sander speeds things up.
Step 2 — Fill the Damaged Area
Once the surface is bare and clean, apply a flexible filler to any chips, holes, or indentations. Press it in firmly and slightly overfill. It shrinks as it dries.
Let it dry completely. Check the product label — usually 2–4 hours.
Step 3 — Sand Smooth
Sand the dried filler until it’s flush with the surrounding surface. Then feather the edges of the old paint so there’s no hard ridge. A visible ridge will show through the topcoat.
Wipe down with a damp cloth to remove dust before moving on.
Step 4 — Prime the Repair
Never skip primer. It seals the filler, improves adhesion, and stops the new paint from looking patchy. Use a stain-blocking primer if there’s any water damage or discolouration.
Apply one coat and let it dry fully.
Step 5 — Paint to Match
Apply your topcoat in thin layers, letting each dry before adding the next. Two coats is standard. Feather the edges so the repair blends into the surrounding surface.
Colour matching tip: If your wall was painted a while ago, the existing paint may have faded. Consider painting the whole wall rather than just the patch for a seamless result.
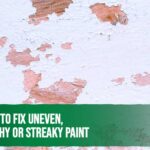
Preventing Future Peeling
A good repair is only half the job. Here’s how to stop it happening again:
- Fix any moisture issues first — leaking gutters, poor drainage, or condensation build-up
- Always use a primer before painting, especially on bare or repaired surfaces
- Choose quality paint rated for the environment — exterior-grade outdoors, moisture-resistant in wet rooms
- Clean surfaces properly before painting — dirt, grease, and mould are adhesion killers
- Avoid painting in extreme heat or rain — Adelaide’s summer heat can cause paint to dry too fast, reducing adhesion
Interior vs Exterior Repairs
The process is similar, but the products and conditions matter a lot.
Interior repairs:
- Use a lightweight spackle or interior filler
- Standard primer works fine in most rooms
- Paint can usually go on the same day if filler dries fast
Exterior repairs:
- Use a flexible, weather-resistant filler. Exterior surfaces expand and contract with temperature, so rigid filler will crack
- Waterproof primer is a must
- Pick the right day. Avoid rain, extreme heat, or direct midday sun
- Recurring exterior peeling often points to a moisture or substrate issue worth inspecting
Interior repairs are more forgiving because you’re working in stable, controlled conditions with no weather or temperature swings. Exterior repairs are tougher. You’re fighting environmental stress, so you need better products and timing. If peeling keeps happening in the same spot, don’t just keep repainting. You likely have water damage or a substrate problem underneath. Fix that first, or you’re wasting time and money on repairs that won’t stick.
FAQs
Can I paint directly over peeling paint?
No. Painting over peeling paint never works. It will peel again, and faster. Always scrape and prep first.
How do I fix peeling paint on a ceiling?
Same process. scrape, fill, sand, prime, paint. Wear eye protection when working above your head. A bonding primer is great for ceilings with water stains.
Why does my paint keep peeling in the same spot?
Recurring peeling almost always means moisture. Check for leaks, condensation, or poor ventilation in that area.
How much does it cost to repair peeling paint?
Small DIY repairs cost $20–$60 in materials. For larger areas or full exterior repaints, professional quotes in Adelaide typically start from a few hundred dollars.
Is peeling exterior paint a structural problem?
It can be. Persistent peeling can lead to timber rot and substrate damage if ignored. Address it sooner rather than later.
Exterior looking tired? Book an Adelaide repaint →